Before Recording: Prepare the Room and Equipment
Soft surfaces reduce echo, while closed windows and turned-off notifications eliminate constant background noise. A phone on the table far from participants records more of the room than the speech; a separate microphone or device closer to the speaker is usually more beneficial than expensive post-processing.
Do a 20–30 second test and listen to it with headphones. Check not for the beauty of the sound, but for the clarity of quiet words and the absence of overload on loud ones. These conditions directly affect the accuracy of speech recognition.

During the conversation: manage the speech
Ask participants to introduce themselves at the beginning and, if possible, speak one at a time. Names, surnames, and numbers should be pronounced clearly. If the discussion is important, the host can briefly repeat the decision made — this helps both people and the subsequent transcription.
Avoid background music during interviews if the text is the main outcome. Music competes with the voice and rarely adds value to the recording. If there's a pause or interference, it's better to repeat the phrase immediately rather than trying to reconstruct it later.
After recording: check the file
Open the original, fast forward to the middle and end, and ensure the duration is as expected. Check the volume and presence of sound. If the recording is cut off, no service can recover the missing segment.
For very long material, logical division into parts makes editing easier but shouldn't disrupt the flow of thought. Keep the original until the review is complete: it will be needed if the processed copy needs to be reassembled with different settings.
- 01The file opensThe recording plays without error.
- 02Duration matchesThe start and end of the meeting are intact.
- 03Voice is audible throughoutThe beginning, middle, and end are checked.
- 04Track is not emptyThe video contains the necessary sound.
- 05Format is suitableThe file size and type are accepted by the service.
When sound processing is justified
Light volume normalization or removal of constant hum can help if the tool doesn't distort the speech. Strong noise reduction can "cut off" word endings, so always compare the processed copy with the original.
If the issue is localized, sometimes it's easier to manually transcribe a difficult segment rather than aggressively altering the entire file. For recordings with varying quality, a hybrid transcription approach can be useful: an automatic draft for the main part and manual work only where the signal is truly damaged.
Never replace the original with a cleaned-up version: processing might make the audio sound nicer but can also remove parts of the speech.
Control Test Before Large Volumes
Take a minute with typical conditions: a question from afar, a term, a surname, and some background noise. Get a draft and assess recurring errors. The result will indicate whether selective checking is sufficient or if the recording needs full editing.
Note not only the errors but also the time spent on corrections. After the test, it's easier to decide whether to change the recording location, reposition the microphone, or prepare a list of names and terms in advance.
If you're comparing several tools, evaluate the same test fragment. A separate checklist explains how to choose a transcription service based on quality, formats, export options, and data handling.
Eliminate Interference
- close windows
- move the microphone closer
- conduct a test
Preserve Speech
- take turns speaking
- pronounce names clearly
- repeat decisions
Check the File
- listen to three points
- save the original
- process one minute
Practical Checklist
If you complete five actions before uploading, most preventable issues will be detected even before the start of automatic processing.
Before Transcription
- Move the microphone closer to the voice.
- Remove music, notifications, and unnecessary background noise.
- Ask participants not to speak simultaneously.
- Listen to a test before starting an important recording.
- Save the original and work with a copy.
How to Complete a Task in Transkribator
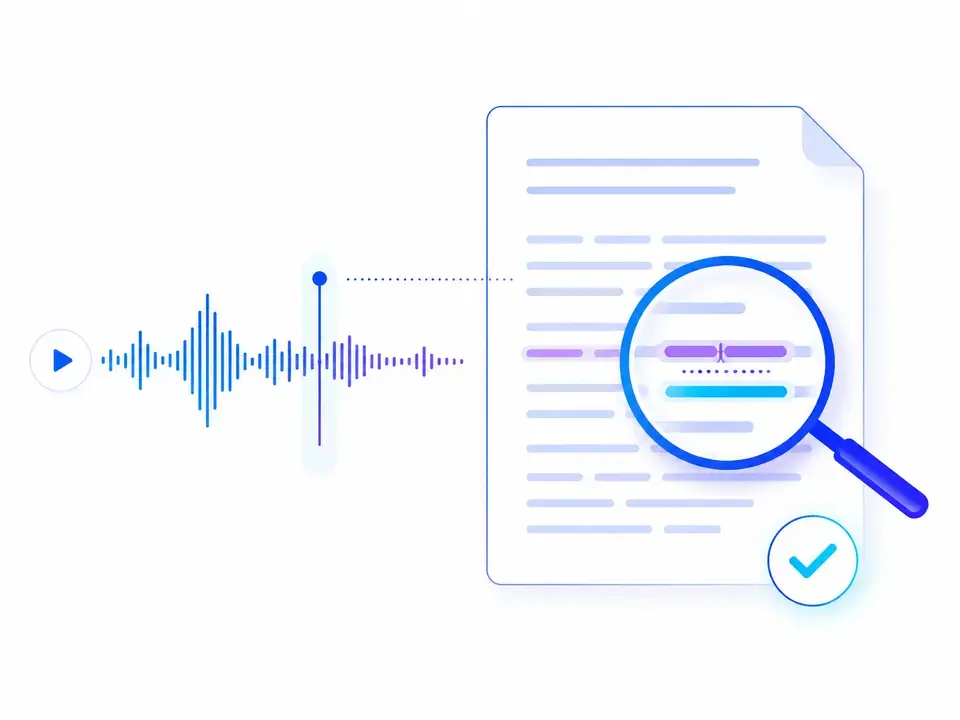
On the "Audio to Text" page, upload the prepared recording and wait for the result. First, assess the overall meaning, then check names, numbers, and terms by timestamps. After reviewing, download the result with or without timestamps and continue working in your usual tool.
- Select the prepared fileCheck the duration, sound, and type of recording before uploading.
- Wait for ProcessingThe service will prepare the transcript and timestamps.
- Check Complex WordsRefer back to names, numbers, and terms using the timestamps.
- Download the ResultChoose a version with timestamps or plain text without them.
Key Points
- A microphone closer to the voice is more important than complex processing.
- A test recording helps prevent technical issues.
- The original file should be kept until the final check.
- Test challenging conditions on a representative sample.
Frequently Asked Questions
Do I need to convert the file to WAV?
Not necessarily. First, check the support for the original format and the quality of the audio itself. A new extension won't recover speech details that are already lost.
Will noise reduction help?
Sometimes, but too much filtering can reduce clarity. Always compare the processed copy with the original.
Should I split a long recording?
Yes, if it simplifies the work and the parts have logical boundaries. Don't cut phrases and context, and keep the original file intact.
How do I know if the recording is suitable?
Listen to typical and challenging parts, then process a short segment and evaluate critical words: names, numbers, negations, and terms.